Running DiskDigger in Linux
This brief guide explains how to run DiskDigger under most popular Linux distributions.
The current Beta version of DiskDigger is built using Avalonia UI, which is a cross-platform toolkit that allows DiskDigger to run on various platforms including Linux, Windows, and macOS. Although support for Linux is still experimental, DiskDigger should provide all the same powerful recovery functionality as it does on Windows.
To run DiskDigger on your Linux system, simply open a console window and download the appropriate version of DiskDigger for your system architecture.
If you have a x86_64 (or amd64) system:
$ wget https://diskdigger.org/diskdigger_linux_x64.zip
And if you have an arm64 system:
$ wget https://diskdigger.org/diskdigger_linux_arm64.zip
And then proceed to unzip it and execute it with sudo:
$ unzip diskdigger_linux_x64.zip  (or _arm64.zip)
$
sudo ./diskdigger
Here is DiskDigger running in Xubuntu 24, for example:
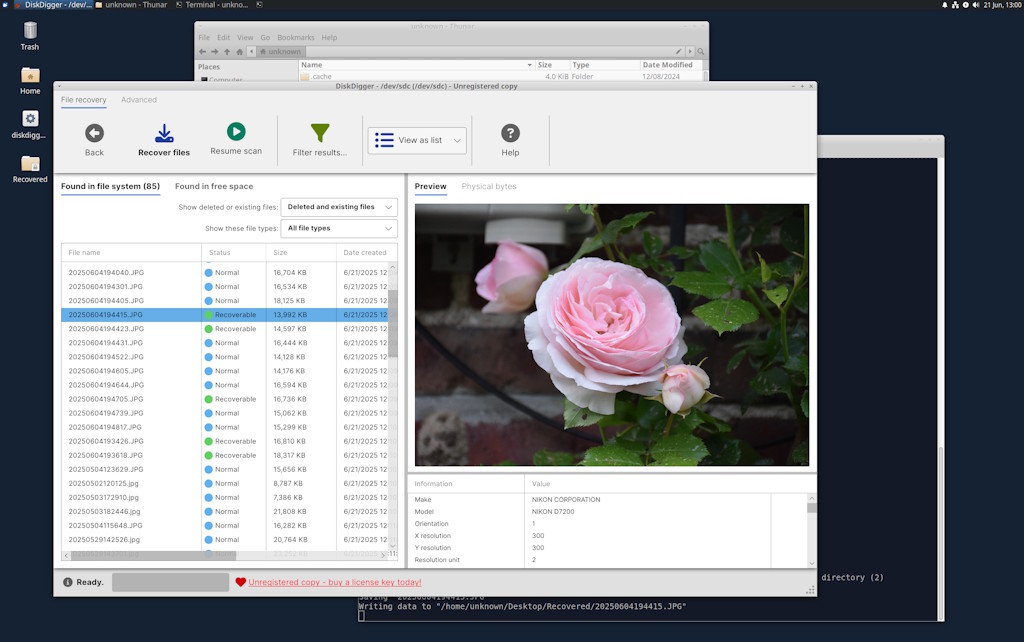
You must run DiskDigger as a superuser (sudo) because it requires low-level access to your disk(s). If you don't run it with sudo, it will not be able to detect or read any of the physical disks in your system, but you would still be able to read and scan disk images, if you like.
Considerations
Here are a few things to keep in mind when running DiskDigger in Linux:
- Yes, yes, I understand that it's highly discouraged to run GUI applications with sudo, but this is simply how DiskDigger works for the moment. I am actively working towards refactoring the business logic into a self-contained lightweight background process that will request its own elevated permissions, independently of the GUI.
- DiskDigger tries to automatically detect the disks in your system by searching for devices of the form "
/dev/sdn", "/dev/hdn", and so on. If your disk has a different device name, or if you want to scan a particular partition (e.g. "/dev/sda1"), you'll need to manually enter it in the "Advanced" tab on the main screen of DiskDigger. - When you save any recoverable files, they are saved under the same permissions as the user who launched DiskDigger. In other words, if you launched it with sudo, the recovered files will be owned by the root user. This means that you may need to chmod the permissions on the recovered files to make them accessible to non-sudo users.
What about macOS?
Please refer here for running DiskDigger on macOS.
Have fun!
...and let me know if you encounter any issues!
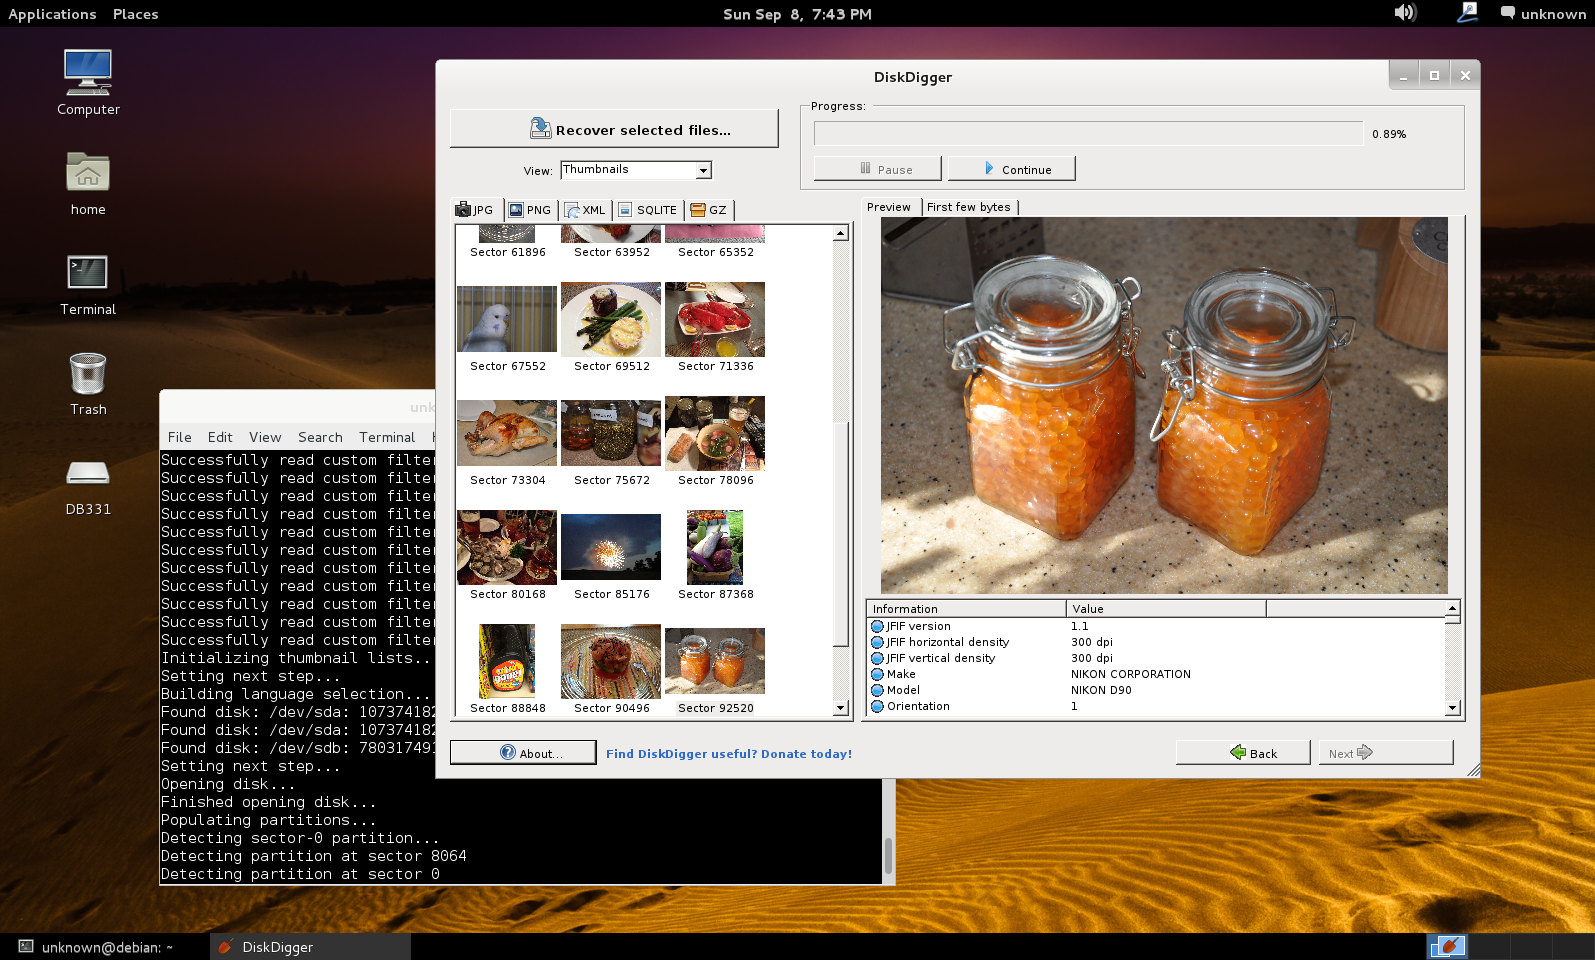
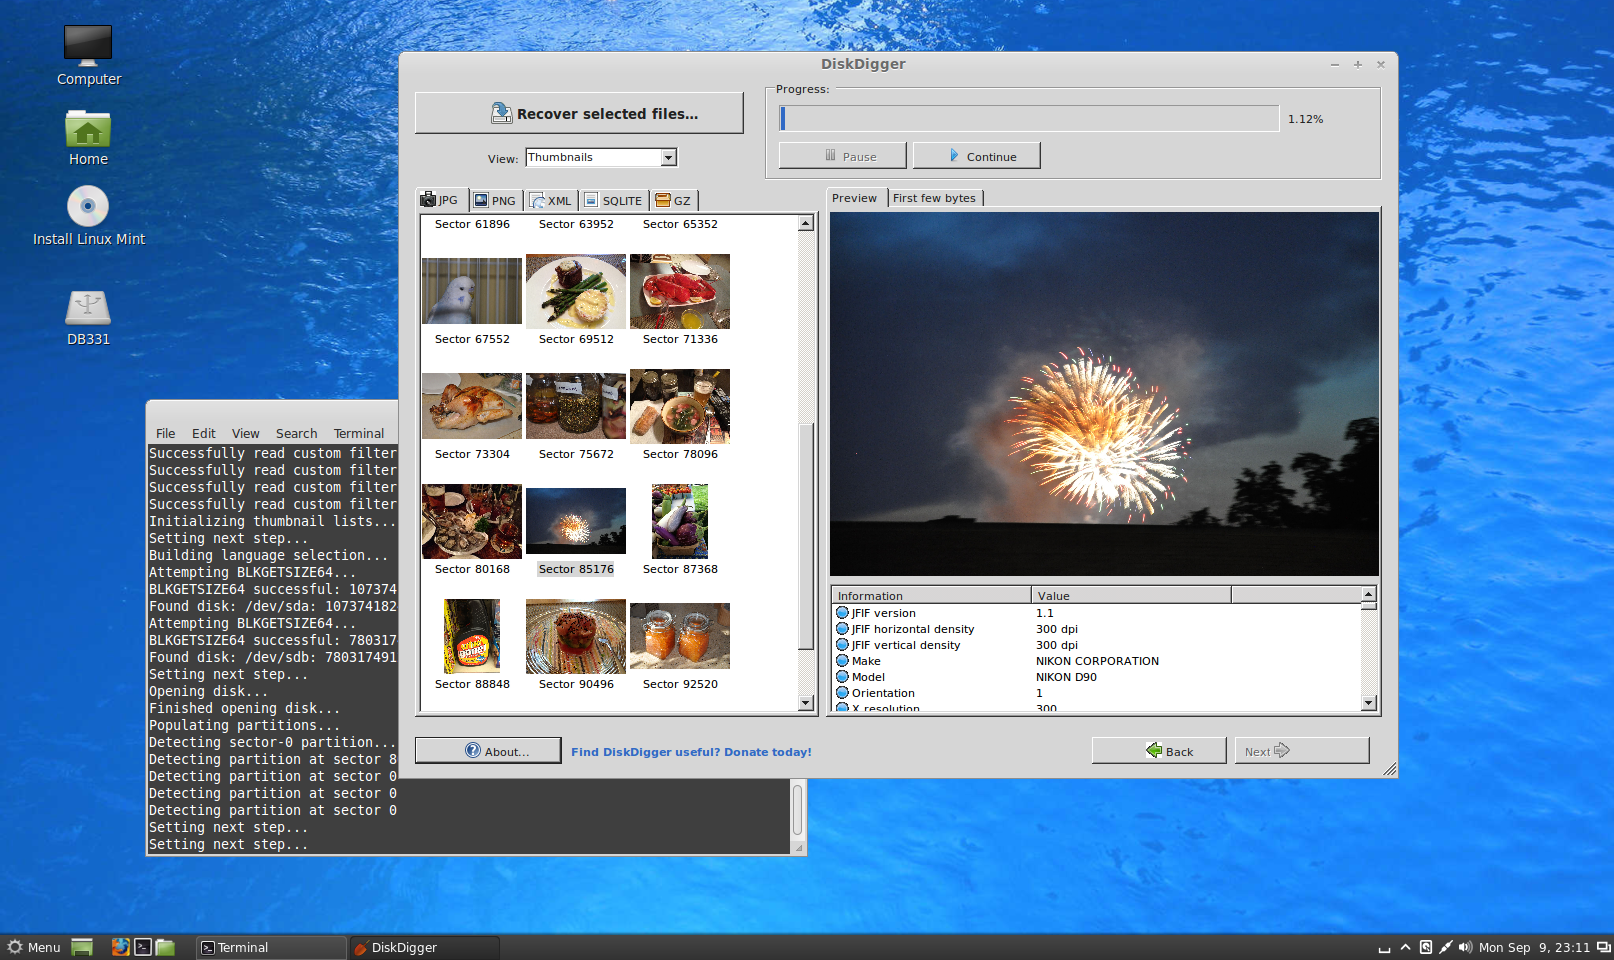
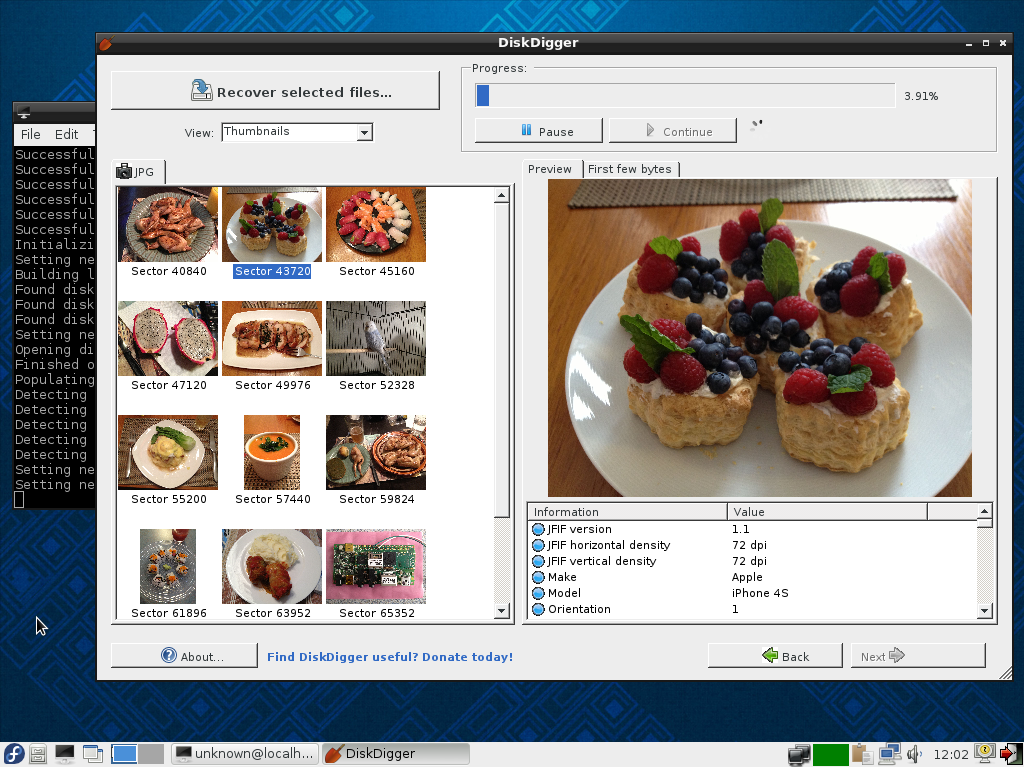
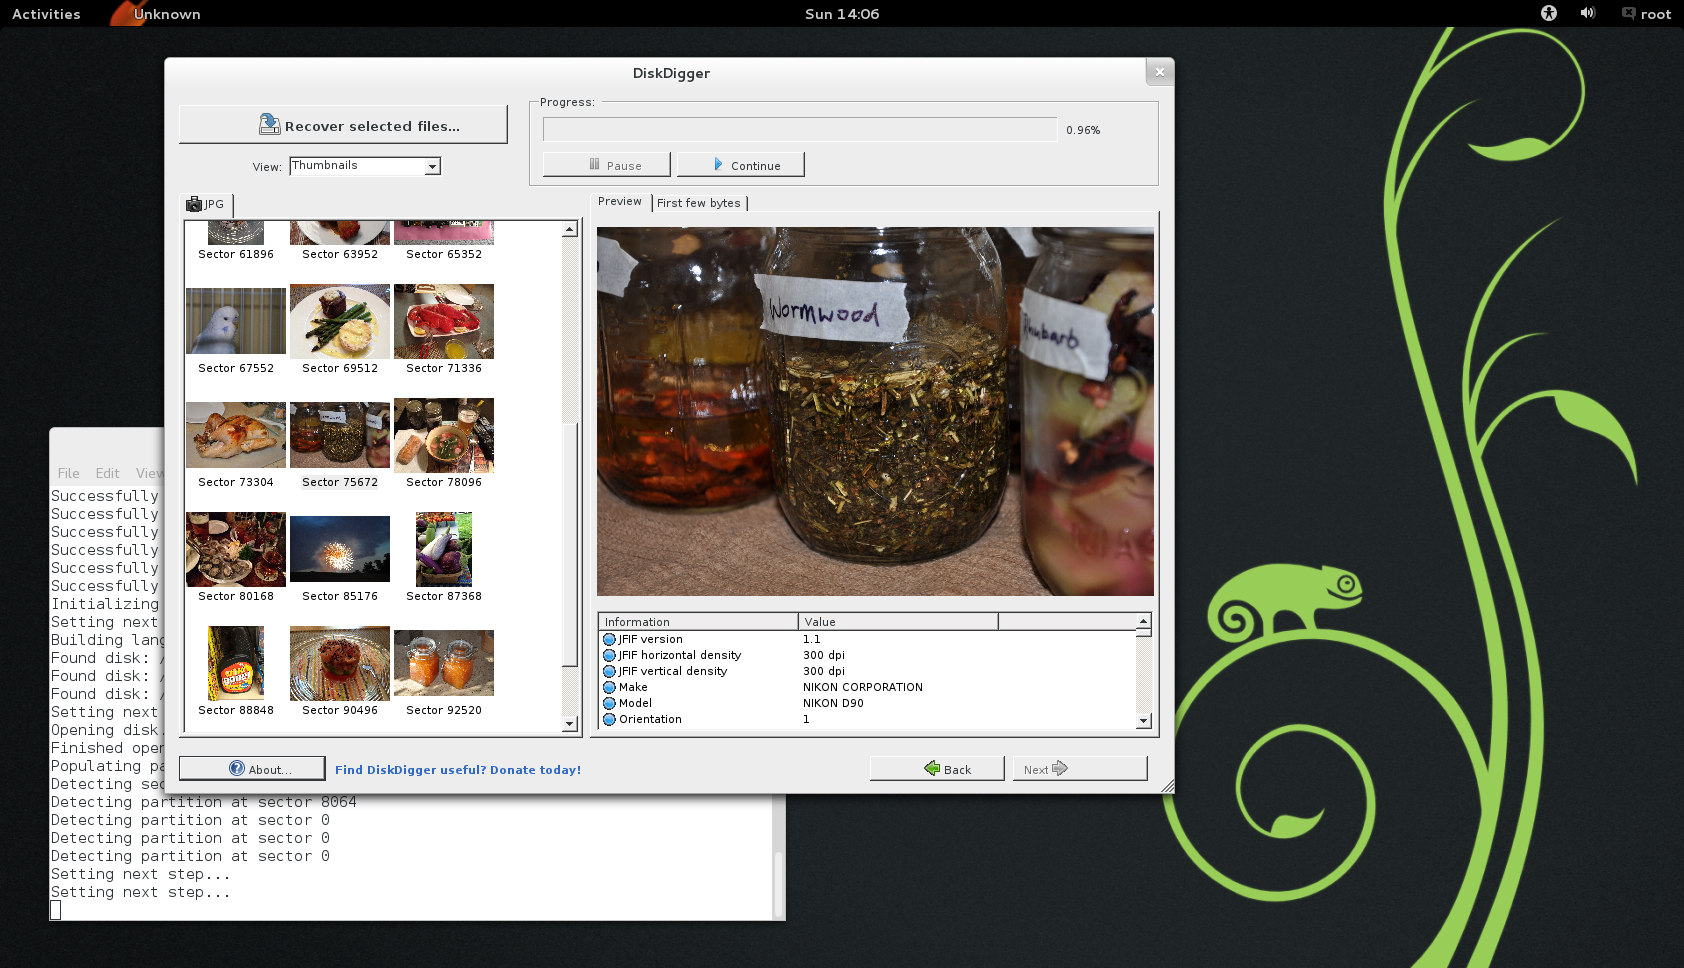
For posterity
Here are some screenshots of older versions of DiskDigger running in Linux, using the Mono framework and its implementation of Windows Forms, which allowed the Windows version of DiskDigger to run unmodified (albeit imperfectly) on Linux: